How Do You Set Up a Ring Spotlight Camera?
How do you set up a Ring Spotlight camera? The Ring Spotlight Camera is a popular choice for homeowners who want to enhance their security system. This article will guide you through the process of setting up a Ring Spotlight Camera step by step.
Whether you’re a beginner or have some experience with smart home devices, this guide will help you get your camera up and running in no time.
How Do You Set Up a Ring Spotlight Camera?
Before diving into the installation process, let’s take a moment to understand the Ring Spotlight Camera and its features.
The camera is designed to be mounted outdoors and offers a wide-angle view to capture detailed footage. It features customizable motion detection zones, allowing you to focus on specific areas.
Additionally, the built-in spotlight can be triggered by motion or controlled manually via the Ring app. The camera also has two-way audio, enabling you to communicate with visitors or potential intruders.
Gathering the necessary equipment
To set up your Ring Spotlight Camera, make sure you have all the necessary equipment handy. You will need the following items:
- Ring Spotlight Camera
- Mounting bracket and screws
- Drill and drill bit (if required)
- Screwdriver
- Ethernet cable (optional)
- Smartphone or tablet
Before starting the installation, ensure that your camera is fully charged by connecting it to a power source using the provided USB cable.
Choosing the installation location
Selecting the right location for your Ring Spotlight Camera is crucial for optimal performance. Here are a few factors to consider:
1. Coverage: Identify the areas you want to monitor and ensure the camera’s field of view covers them adequately.
2. Accessibility: Make sure the camera is easily accessible for maintenance and adjustments if needed.
3. Power source: Ensure there is a power outlet nearby or plan for alternative power options such as a solar panel or battery pack.
Once you’ve identified the ideal location, proceed to the next step.
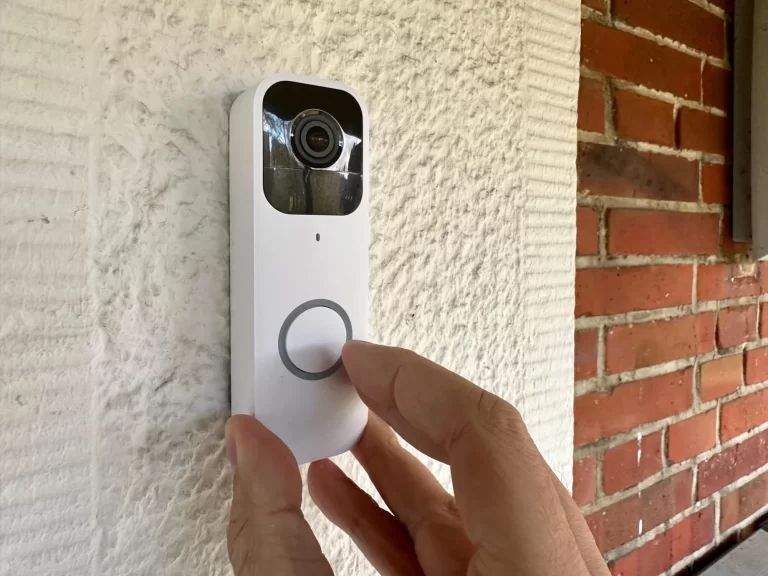
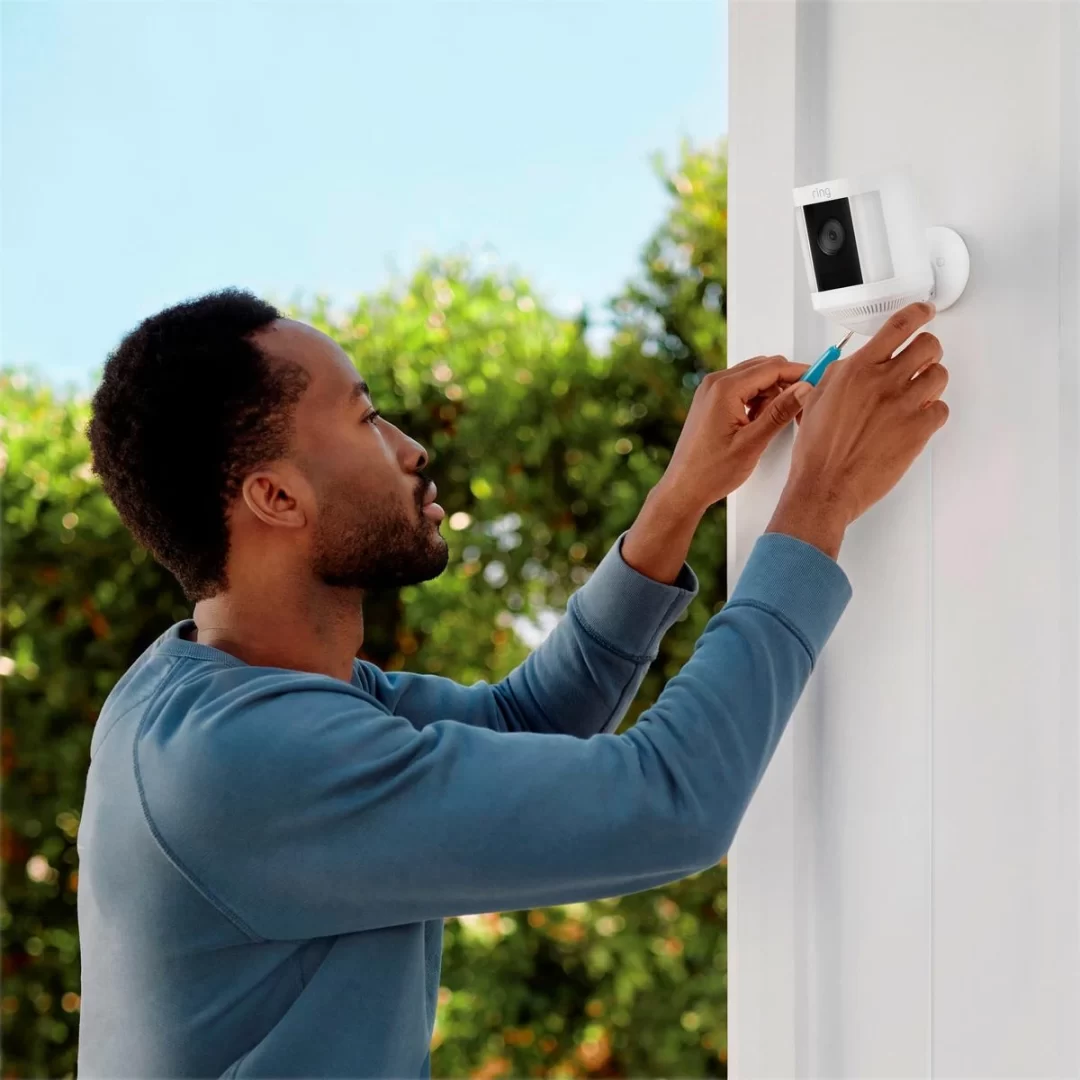
Mounting the camera
To mount the Ring Spotlight Camera, follow these steps:
1. Attach the mounting bracket to the desired location using the provided screws. Ensure it is securely fastened.
2. Align the camera with the mounting bracket and rotate it clockwise until it clicks into place.
3. If you need to adjust the camera angle, loosen the adjustment screws and position it accordingly.
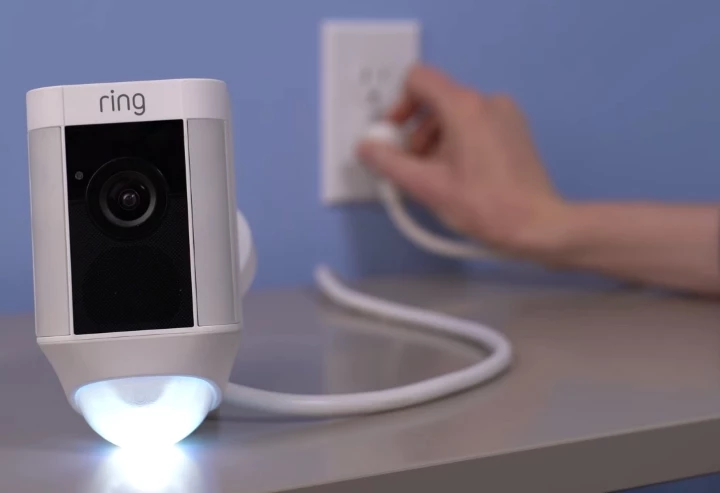
Connecting to power
To power your Ring Spotlight Camera, you have a few options:
1. Wired connection: If you have an outdoor power outlet nearby, you can connect the camera directly using the provided power cable.
2. Battery-powered: If a power outlet is not available or you prefer a wireless setup, you can rely on the camera’s built-in battery. Note that the battery will require periodic recharging.
3. Solar panel or battery pack: For long-term power supply without worrying about recharging, you can consider purchasing a compatible solar panel or battery pack.
Choose the power option that suits your needs and follow the instructions provided by Ring to connect your camera accordingly.
Setting up the Ring app
To complete the setup process, you’ll need to download and install the Ring app on your smartphone or tablet.
The app is available for both iOS and Android devices and can be found in the respective app stores. Once installed, follow these steps:
- Open the Ring app and create an account if you don’t have one already. Ensure you have a stable internet connection.
- Tap on the “+” icon to add a new device.
- Select “Security Cams” and then “Spotlight Cam” from the list of available devices.
- Follow the on-screen instructions to connect your camera to your account.
- Once the camera is successfully added to your account, you can proceed with configuring its settings.
Adding the Ring Spotlight Camera to Your Account
Once your camera is connected to your Ring account, you can personalize its settings.
This includes choosing a device name, adjusting camera motion zones, and setting up additional features like night vision and motion alerts.
Take your time to explore the options and customize the camera to your preferences.
Configuring Ring Spotlight Camera Settings
Within the Ring app, you’ll find various settings to configure your Ring Spotlight Camera. Some key settings to consider are:
1. Motion detection sensitivity: Adjust the sensitivity level to avoid unnecessary notifications while still capturing important events.
2. Motion zones: Define specific areas where you want the camera to detect motion.
3. Privacy settings: Set up privacy zones to prevent the camera from capturing certain areas.
4. Scheduling: Customize when you want the camera to be active or inactive.
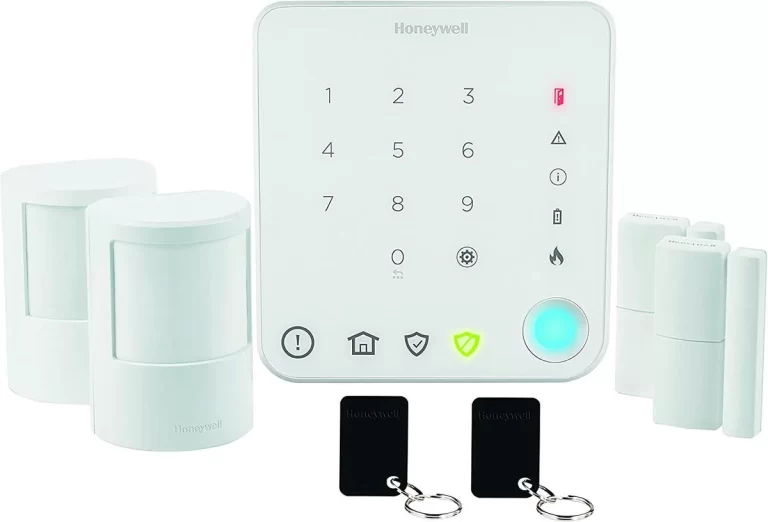
5. Linked devices: Integrate your camera with other Ring devices or third-party devices for enhanced security features.
Experiment with these settings to find the right balance that suits your needs.
Testing the Ring Spotlight Camera
Before relying on your Ring Spotlight Camera for security purposes, it’s essential to test its functionality. Here’s what you can do:
1. Trigger motion events: Walk through the camera’s field of view to ensure motion detection is working as expected.
2. Test the spotlight: Manually turn on the spotlight via the Ring app and verify its illumination.
3. Check the live view: Access the live view feature in the app to ensure a clear and reliable video feed.
If any issues arise during the testing phase, refer to the troubleshooting section or contact Ring’s customer support for assistance.
Setting Up Motion Detection
One of the essential features of the Ring Spotlight Camera is motion detection.
By configuring this feature, you can receive alerts when motion is detected in the camera’s field of view. Follow these steps to set up motion detection:
- Open the Ring app and select your camera.
- Tap on “Motion Settings” and then “Motion Detection.”
- Adjust the sensitivity and range according to your preferences.
- Save your settings and exit the menu.
Keep in mind that overly sensitive motion detection may result in more frequent notifications, while low sensitivity may cause missed events. Fine-tune the settings based on your specific requirements.
Adjusting Motion Detection Settings
If you find that the default motion detection settings are not meeting your needs, you can further refine them. Here are a few additional adjustments you can make:
1. Motion zones: Define specific areas where you want the camera to focus on or exclude from motion detection.
2. Scheduling: Configure specific times during which motion detection should be enabled or disabled.
3. Frequency of alerts: Set how often you want to receive motion alerts within a given timeframe.
By customizing these settings, you can tailor the motion detection feature to your liking.
Exploring Additional Features
In addition to motion detection and the built-in spotlight, the Ring Spotlight Camera offers several other features worth exploring:
1. Two-way audio: Use the app to communicate with visitors or potential intruders through the camera’s built-in speaker and microphone.
2. Cloud storage: Consider subscribing to Ring’s cloud storage service to store and access recorded videos.
3. Smart home integration: Connect your Ring camera with other smart home devices or virtual assistants for increased convenience and control.
Spend some time familiarizing yourself with these features and see how they can enhance your overall home security experience.
Troubleshooting common issues
Despite its user-friendly setup process, you may encounter occasional issues while setting up your Ring Spotlight Camera. Here are a few common problems and their potential solutions:
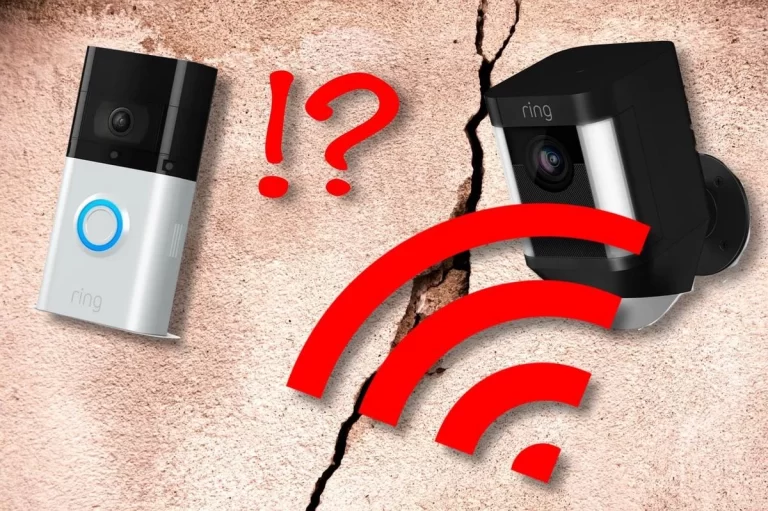
1. Poor Wi-Fi signal: Ensure that your camera is within range of a strong Wi-Fi signal or consider using a Wi-Fi extender.
2. Connection issues: If your camera fails to connect to your Wi-Fi network, double-check the entered credentials and try again.
3. Power-related problems: If the camera is not receiving power or the battery drains quickly, verify the connections or consider alternative power sources.
4. App-related issues: If the Ring app is not functioning correctly, try restarting your device or reinstalling the app.
If you encounter persisting issues, don’t hesitate to reach out to Ring’s customer support for further assistance.
Conclusion
Setting up a Ring Spotlight Camera is a relatively simple process that can significantly enhance the security of your home.
By following the steps outlined in this article, you can install, configure, and personalize your camera to meet your specific needs.
With its motion detection, built-in spotlight, and other features, the Ring Spotlight Camera provides an effective and convenient solution for monitoring and protecting your property.
Frequently Asked Questions
Here are related questions on “How Do You Set Up a Ring Spotlight Camera?”
1. Can I install the Ring Spotlight Camera indoors?
While the Ring Spotlight Camera is primarily designed for outdoor use, you can install it indoors if it meets your requirements.
However, keep in mind that its features, such as the built-in spotlight, may be more suitable for outdoor environments.
2. Can I access the camera’s live view remotely?
Yes, the Ring app allows you to access the camera’s live view remotely as long as you have an internet connection. This feature enables you to check on your property in real time from anywhere.
3. What is the benefit of subscribing to Ring’s cloud storage service?
Subscribing to Ring’s cloud storage service provides several benefits, including the ability to store and access recorded videos, extended video history, and the option to share videos with others.
Additionally, cloud storage ensures that your footage is securely stored off-site, even if the camera is tampered with or stolen.
READ ALSO!!!