Blink Video Doorbell Installation: Step-by-Step Guide
In recent years, Blink Video Doorbell has gained popularity due to its ability to provide homeowners with an added layer of security and convenience. But did you know that Blink video doorbell installation is one of the easiest DIY doorbell installations?
In this article, we will explain the step-by-step process involved, highlighting the benefits it brings to your home security. Let’s get in!
Blink Video Doorbell Installation: Step-by-Step Guide
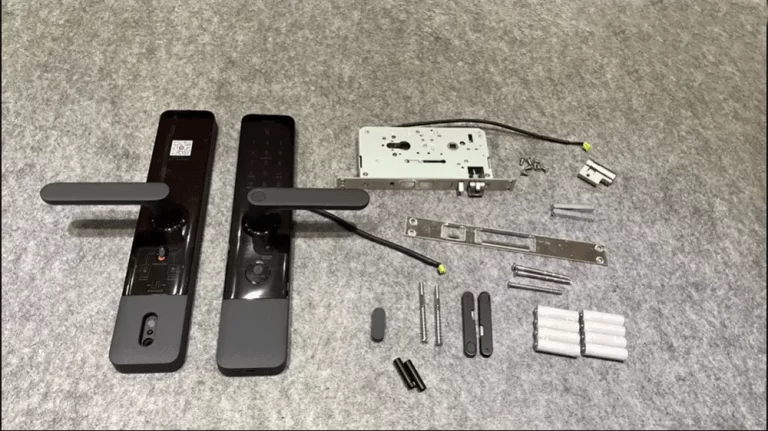
1. Before starting the installation process, ensure that you have all the necessary tools and materials at hand.
These may include a screwdriver, screws, a power drill, a level, and the Blink Video Doorbell package, which contains the doorbell unit, a mounting bracket, and an installation guide.
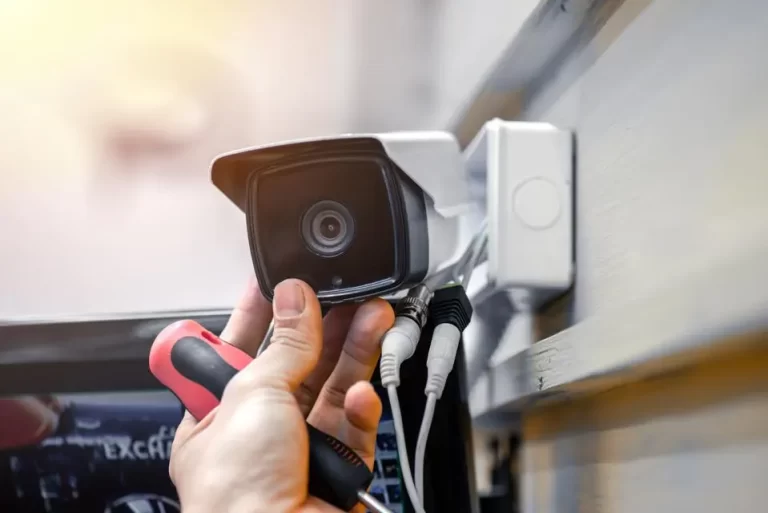
2. Choose an optimal location for mounting the Blink Video Doorbell. It should provide a clear view of your front door and have a stable surface for installation.
Clean the mounting area and ensure it is free from any obstructions that may affect the device’s functionality.
3. Using the provided screws and screwdriver, securely attach the mounting bracket to the chosen location. Make sure the bracket is level to ensure the proper alignment of the doorbell unit.
4. Carefully follow the wiring instructions provided in the installation guide. In most cases, the Blink Video Doorbell operates on battery power, eliminating the need for complex wiring.
However, if your doorbell requires a wired connection, consult the guide for detailed instructions.
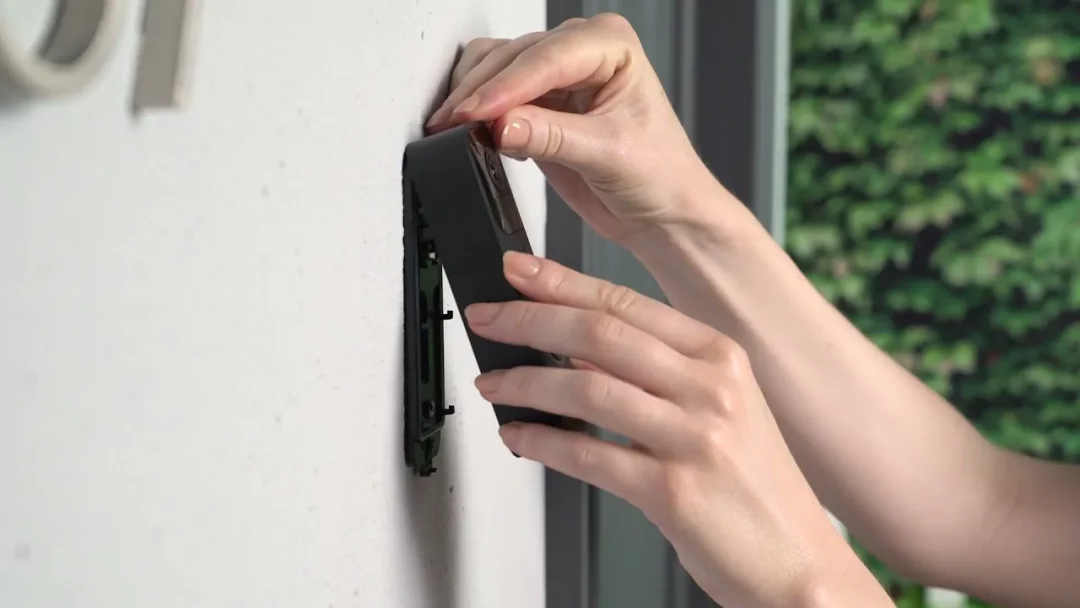
5. Align the doorbell unit with the mounting bracket and gently slide it into place. Ensure a snug fit to prevent any movement or instability. Use the provided screws to secure the unit onto the mounting bracket.
6. Once the physical installation is complete, follow the instructions provided by the Blink mobile app to connect the doorbell to your home Wi-Fi network.
This will enable you to access the device remotely and configure additional settings, such as motion sensitivity and notification preferences.
7. After the setup is complete, perform a thorough test of the Blink Video Doorbell’s functionalities.
Check the video feed, motion detection, and two-way audio communication to ensure everything is working as intended. Make any necessary adjustments to the settings to optimize the device’s performance.
By following these steps, you can successfully install the Blink Video Doorbell and enjoy the enhanced security and convenience it brings to your home.
Why Choose the Blink Video Doorbell?

The Blink Video Doorbell is a cutting-edge device that combines high-definition video recording, motion detection, and two-way audio communication, all packed into a sleek and compact design.
This device allows homeowners to monitor their front doors remotely, ensuring their safety and providing peace of mind. Let’s dive deeper into the various reasons why choosing the Blink Video Doorbell is a wise decision.
1. Enhanced Home Security
With the Blink Video Doorbell, you can keep a watchful eye on your front door at all times. Its high-definition video recording capabilities enable you to capture clear footage of any activity occurring outside your home.
This not only acts as a deterrent for potential intruders but also provides valuable evidence in case of any suspicious incidents.
2. Motion Detection and Alerts
One of the standout features of the Blink Video Doorbell is its advanced motion detection technology. Equipped with infrared sensors, the device can detect any movement in its field of view.
As soon as motion is detected, you will receive instant alerts on your smartphone or other connected devices, allowing you to take immediate action and stay informed about any visitors or potential threats.
3. Two-Way Audio Communication
The two-way audio communication feature of the Blink Video Doorbell lets you interact with visitors at your doorstep, even when you’re not physically present.
Whether it’s a delivery person, a friend, or a family member, you can communicate with them in real-time using the built-in microphone and speaker of the device. This feature adds convenience and flexibility to your daily life.
4. Easy Installation Process
Installing the Blink Video Doorbell is a hassle-free process that can be completed within a short span of time. Let’s explore the step-by-step guide to installing this impressive device.
Conclusion
In conclusion, the Blink Video Doorbell is an exceptional device that offers a seamless blend of security and convenience. With its easy installation process, motion detection capabilities, and two-way audio communication, it provides homeowners with an effective means of safeguarding their properties.
By following the step-by-step guide outlined in this article, you can confidently install the Blink Video Doorbell and experience the peace of mind that comes with enhanced home security.
READ ALSO!!!