How to Use Toggle Bolts [Step-by-Step]
Toggle bolts are commonly used for hanging heavy objects on drywall, plaster, or other hollow wall surfaces. In this step-by-step guide, we will walk you through the process of using toggle bolts effectively, providing you with the knowledge and confidence to tackle your next wall-hanging project.
What are Toggle Bolts?
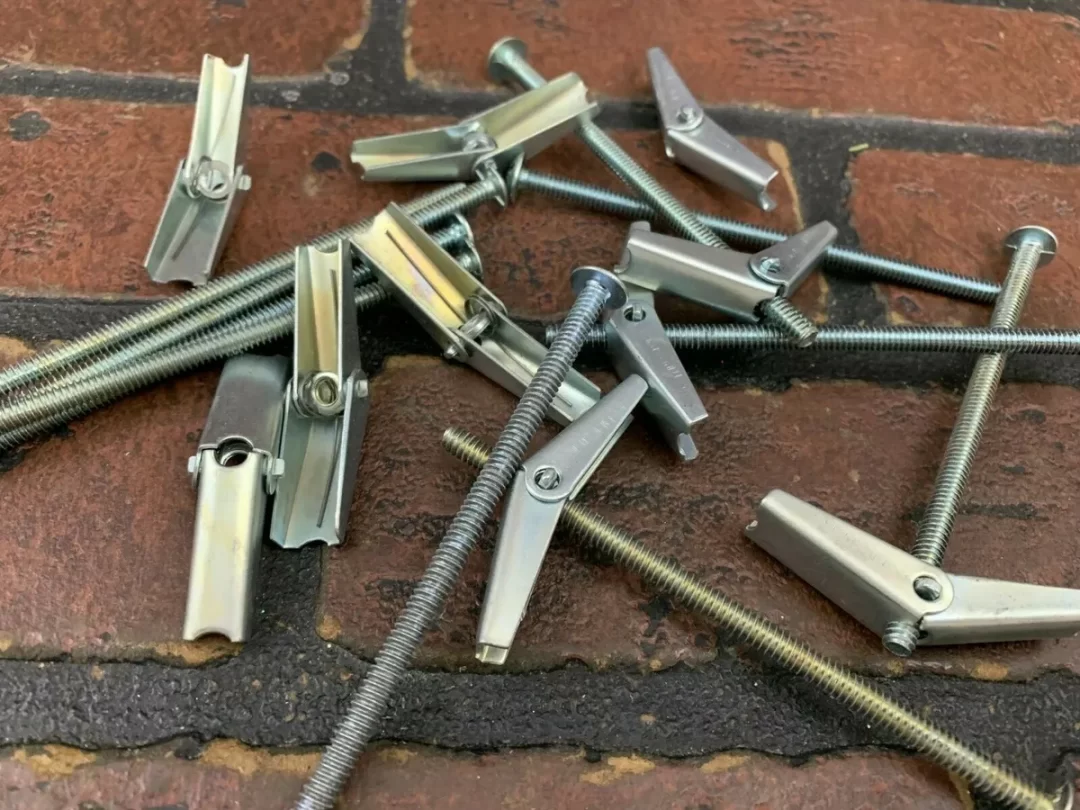
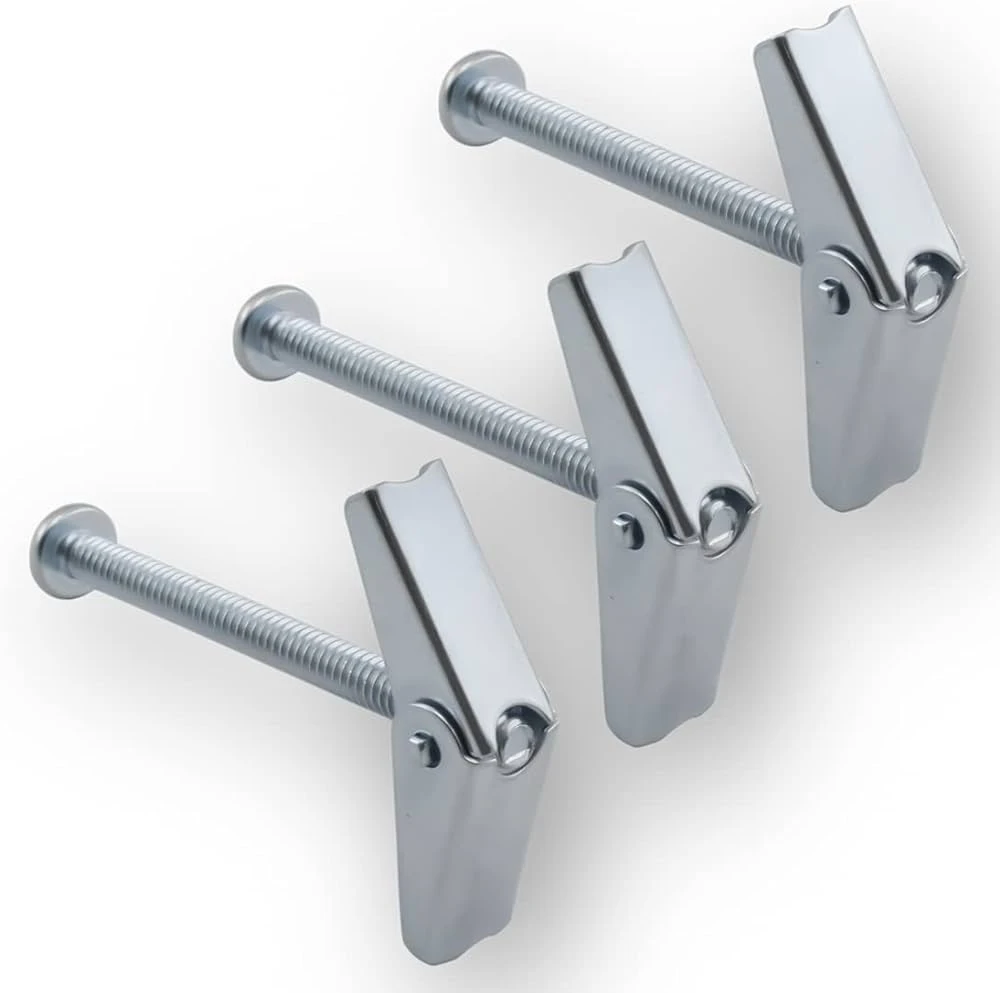
Toggle bolts, also known as butterfly anchors or toggle anchors, are specialized fasteners designed to secure heavy objects to hollow wall surfaces. They consist of two main components: a sturdy bolt and a spring-loaded mechanism called a toggle.
The bolt is threaded and has a flat head, similar to a regular screw. The toggle, on the other hand, is a small metal bar with wings or arms that fold inward.
When a toggle bolt is inserted through a pre-drilled hole in the wall, the wings of the toggle spring open behind the wall, providing a secure anchor point.
This unique design distributes the weight over a larger area, increasing the load-bearing capacity of the fastener and preventing it from pulling out under stress.
How to Use Toggle Bolts

Here is a simple guide on how to use toggle bolts;
Step 1: Choose the Right Toggle Bolts
Before you begin your project, it’s crucial to select the appropriate toggle bolts for the weight and type of item you’re hanging. Here are some factors to consider when choosing toggle bolts:
1. Weight Capacity
Toggle bolts come in various sizes and weight capacities. Check the packaging or product specifications to determine the weight limit of each bolt.
Ensure that the toggle bolts you select can support the weight of the object you’re hanging.
2. Wall Material
Different toggle bolts are designed for specific wall materials.
Whether you’re working with drywall, plaster, or other hollow wall surfaces, make sure to choose toggle bolts that are compatible with the material to ensure a secure installation.
3. Bolt Size
Toggle bolts are available in different sizes, typically indicated by a number. The larger the number, the thicker the bolt. Select a bolt size that matches the thickness of your wall and provides adequate strength and support.
Step 2: Gather the Necessary Tools and Materials
Before you start the installation process, gather the following tools and materials:
- Toggle bolts of appropriate size and weight capacity
- Drill
- Drill bit (slightly smaller than the diameter of the toggle bolt)
- Screwdriver or power drill with a screwdriver bit
- Pencil
- Level
- Measuring tape
- Stud finder (optional)
- Item to hang
Having these tools and materials ready will help streamline the installation process and ensure a successful outcome.
Step 3: Locate the Wall Studs (Optional)
If you’re hanging a particularly heavy object or prefer additional support, it’s advisable to locate and attach your toggle bolts to wall studs.
A stud finder can help you identify the position of the studs behind the wall. Once located, mark the stud positions using a pencil.
Step 4: Mark the Hanging Location
Using a measuring tape and level, determine the desired height and position for your item on the wall. Mark the exact hanging location with a pencil, ensuring that it aligns with the studs if you’re using them.
Step 5: Pre-Drill the Holes
With the hanging location marked, it’s time to pre-drill the holes for the toggle bolts. Using a drill bit slightly smaller than the diameter of the toggle bolt, carefully drill holes at the marked positions on the wall.
Take care not to drill too deep to avoid damaging any electrical wiring or plumbing behind the wall.
Step 6: Insert the Toggle Bolts
Take a toggle bolt and slide it through the hole in the wall, ensuring that the wings of the toggle are folded or compressed.
Once the bolt is fully inserted, gently pull it towards you while pushing on the bolt head, allowing the wings to spring open behind the wall. Repeat this process for each toggle bolt.
Step 7: Tighten and Secure the Bolts
Using a screwdriver or power drill with a screwdriver bit, tighten the bolts by turning them clockwise.
Be careful not to overtighten, as this can cause damage to the wall or strip the threads of the toggle bolt. Ensure that the bolt is snugly secured against the wall.
Step 8: Attach and Hang the Object
With the toggle bolts securely in place, it’s time to attach and hang your object. Align the mounting holes of the object with the extended bolts and slide them onto the bolts.
If necessary, use a screwdriver or power drill to tighten any screws or nuts provided with the object to secure it firmly in place.
Conclusion
Learning how to use toggle bolts properly is essential for hanging heavy objects securely on hollow wall surfaces. By following the step-by-step instructions outlined in this guide, you can confidently tackle your next wall-hanging project.
With proper installation, you can enjoy a sturdy and reliable wall-mounted display or storage solution. Happy hanging!
READ ALSO!!!